Understanding the correct makeup steps in order is the single most important foundational skill in beauty. Apply products in the wrong sequence and even the best makeup won’t perform primer over foundation, powder before setting spray, or blush before bronzer can all undermine the finished look and shorten wear time dramatically. This complete guide to makeup application steps and makeup routine order walks you through every step of a full face in the right sequence, explaining the why behind each placement so you understand the logic and can adapt it confidently to any look.
Why Makeup Order Matters
Each makeup product is formulated to interact with either bare skin, another specific product, or the finished makeup layer beneath it. Primer is designed to grip bare or moisturized skin not foundation. Setting powder is formulated to set liquid products not powder blush. Concealer needs a foundation base to blend into seamlessly. When products are applied in the wrong order, they can pill, slide, compromise each other’s pigmentation, or simply not adhere correctly. The base makeup order we cover here has been refined through professional makeup artistry to maximize adhesion, longevity, pigment payoff, and blendability at every step.
Step 1 — Skincare Prep: The Foundation of Makeup
Before any makeup touches your face, your skincare routine must be complete and fully absorbed. Apply your moisturizer, serums, and SPF, then wait at least 5 minutes for them to absorb ideally 10. Makeup applied over tacky skincare pills, slides, and breaks down far faster. Once skincare is absorbed, your skin is ready for primer. If you have dry skin, a hydrating skincare base will give your foundation a dewy, skin-like finish. If you have oily skin, a mattifying moisturizer provides the ideal canvas for longer-lasting foundation.
💡 Pro Tip: Use a face mist or toning mist as the very first step after skincare and before primer. A light spritz replenishes surface moisture and creates a slightly damp base that many primers grip to even more effectively especially important for dry or dehydrated skin types.
Step 2 — Primer: The Grip Foundation
Primer is applied after skincare and before foundation. It does three critical things: fills pores and fine lines for a smoother foundation application, extends foundation wear time by creating a grippy surface, and addresses specific skin concerns (color-correcting primers reduce redness or sallowness; blurring primers minimize texture). Apply a pea-sized amount of primer after your moisturizer has absorbed, focusing on the T-zone for oily skin or all over for dry/normal skin. Let primer set for 60 seconds before moving to foundation this brief wait activates its grip properties and dramatically improves foundation longevity.
💡 Pro Tip: Match your primer formula to your foundation formula: silicone-based primers work best under silicone-based foundations; water-based primers work best under water-based foundations. Mismatching formulas is one of the most common causes of foundation pilling.
Step 3 — Color Corrector (If Needed)
Color correctors are applied before foundation to neutralize specific discolorations that concealer and foundation alone can’t fully cover. Green corrects redness and acne. Peach or orange corrects dark circles (especially on deeper skin tones). Lavender corrects sallowness or yellow tones. Apply color corrector only to the specific area of concern, using a brush or fingertip. Apply a thin, targeted layer and blend edges color correctors should disappear under foundation, not show through it. This step is entirely optional and only necessary if you have specific concerns that standard foundation coverage doesn’t address.
Step 4 — Foundation: Your Base Canvas
Foundation is applied after primer (and color corrector) to create an even skin-toned canvas. Apply foundation using your preferred tool: a damp beauty sponge for a skin-like, seamless finish; a foundation brush for full coverage and precision; or clean fingers for a sheer, natural look. Start at the center of the face and blend outward toward the hairline and jawline. Check coverage in natural light and build only in areas that need extra coverage rather than applying a thick all-over layer targeted, layered application always looks more natural than a single heavy coat.
💡 Pro Tip: Dampen your beauty sponge under running water, then squeeze out all excess moisture until the sponge is just slightly damp. A properly dampened sponge blends foundation more seamlessly, uses less product, and imparts a natural, skin-like finish that dry sponges cannot achieve.
Step 5 — Concealer: After Foundation
Concealer comes after foundation not before, as many beginners assume. Applying foundation first covers a significant portion of discoloration, meaning you need far less concealer and can target precisely what remains visible. Under-eye concealer should be applied in an inverted triangle shape, extending to the outer corner of the eye, then blended upward with a damp sponge for a seamless, lifted effect. Spot concealer goes directly on blemishes, hyperpigmentation, or any areas where foundation coverage was insufficient. Use a shade slightly lighter than your foundation for under-eyes; match foundation shade exactly for spot concealing.
💡 Pro Tip: Bake your under-eye concealer for a crease-free, long-wear result: apply a generous layer of translucent setting powder over damp concealer, let it sit for 5–10 minutes while you do your eye makeup, then dust away the excess for a set, brightened under-eye area.
Step 6 — Setting Powder: Lock In Your Base
Setting powder is applied after foundation and concealer to set liquid and cream products, reduce shine, and extend wear time significantly. Use a large, fluffy brush to apply translucent or skin-toned setting powder in light, sweeping motions across the T-zone and any areas prone to creasing. For a more natural finish, apply setting powder only to the T-zone and let the rest of the face remain slightly dewy. For maximum longevity, a light all-over application followed by a setting spray creates the most bulletproof base possible.
Step 7 — Bronzer: Warmth and Dimension
Bronzer is applied after setting powder as the first layer of facial dimension. Sweep bronzer where the sun would naturally hit: across the forehead, the bridge of the nose, the cheekbones, and lightly under the jaw. Use a fluffy, angled bronzer brush in a ‘3’ or ‘E’ motion on each side of the face for natural-looking warmth. For contouring, use a cooler-toned, matte bronzer in the hollows of the cheeks, temples, and jawline with a more precise brush. Blend thoroughly there should be no harsh lines visible in natural light.
Step 8 — Blush: Flush and Life
Blush is applied after bronzer, on the apples of the cheeks and blending upward toward the temples. The exact placement varies by face shape: round faces should apply blush higher on the cheekbones and blend toward the temples for a lifting effect; oval faces can apply blush directly on the apple and blend naturally; heart-shaped faces benefit from blush on the apples with a gentle upward sweep. Smile to find the apples of your cheeks and apply blush there as a starting point, then blend upward. Layer blush lightly and build it’s always easier to add more than to remove excess.
💡 Pro Tip: Apply a touch of your blush shade to the tip of your nose, the cupid’s bow, and your eyelids for a cohesive, sun-kissed monochromatic look that ties the whole face together effortlessly.
Step 9 — Highlight: Luminosity and Glow
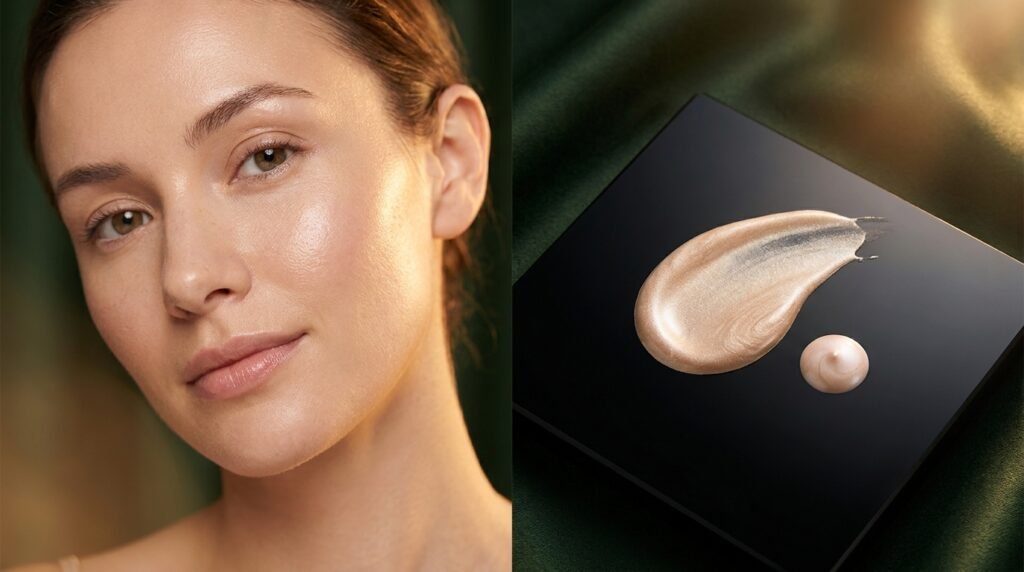
Highlighter is applied after blush to the highest points of the face where light naturally catches: the tops of the cheekbones, the brow bone, the inner corner of the eyes, the tip of the nose, and the cupid’s bow. Use a fan brush or small tapered brush for precise placement. Choose a highlighter finish suited to your desired look: finely-milled powder for a natural inner glow; metallic powder for a bold, editorial gleam; or a liquid or cream highlighter pressed into the skin for a seamless, skinlit effect. Apply with a light touch and build only in areas you specifically want to emphasize.
Step 10 — Eye Makeup: Eyeshadow, Liner, and Mascara
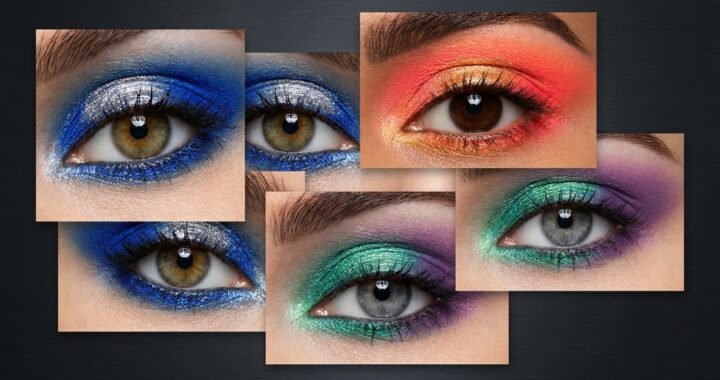
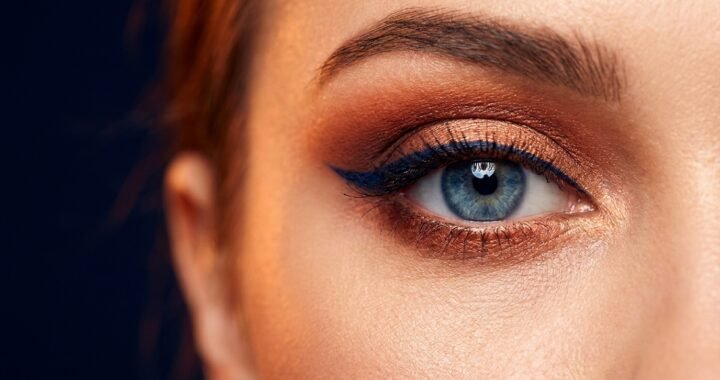
Eye makeup can be done before or after the base, depending on the look for smoky or dramatic eyes with significant fallout, do eyes first and then apply foundation to clean up fallout. For everyday looks, eyes after base is standard. Apply eyeshadow primer first to the lid for maximum color payoff and longevity. Layer eyeshadow from lightest to darkest: transition shade in the crease, deeper shade at the outer corner, lid shade all over, then blend. Apply eyeliner next pencil for soft looks, liquid for precision. Complete with 2–3 coats of mascara, wiggling the wand from root to tip for maximum volume and lift.
Step 11 — Eyebrows: Frame Your Face
Eyebrows are typically shaped and filled after eye makeup so you can balance the arch and intensity to complement the eye look. Use a brow pencil, pomade, or powder one shade lighter than your hair color (or matching for dark hair) to define sparse areas and shape the brow. For natural brows, use light, hairlike strokes throughout. For more defined brows, use a spoolie to brush hairs upward first, then define the bottom edge with your chosen product. Set brows with a clear or tinted brow gel as the final step to keep them in place all day.
Step 12 — Lips: Color and Definition
Lips are the final face step before setting. Exfoliate lips gently if needed. For long-lasting lip color, apply a thin layer of foundation over the lips first to neutralize their natural color and create an even base. Line with a lip liner in the same shade as your lipstick, starting at the cupid’s bow and working outward. Apply lipstick from the center out. For a glossy finish, apply lip gloss over lipstick. For extra longevity: blot with a tissue, dust translucent powder over the blotted lips, then apply a second coat of lipstick.
Step 13 — Setting Spray: The Final Lock
Setting spray is the absolute final step of your makeup routine applied after everything else to meld all layers together, boost longevity, and adjust the finish. Hold the bottle 8–10 inches from your face and spray in an X then T pattern for full coverage. For a dewy, skin-like finish, use a hydrating setting spray. For maximum wear time and oil control, use a long-wear setting spray. Setting spray is also the makeup artist’s trick for transforming powder products into a more natural, skin-like finish by softening the powdery texture.
💡 Pro Tip: Use setting spray on your beauty sponge before blending foundation this ‘double duty’ technique prevents the sponge from absorbing too much foundation, ensures seamless application, and adds an extra layer of setting performance to your base.
Complete Makeup Steps in Order: Quick Reference
- Skincare prep (moisturizer + SPF fully absorbed)
- Primer
- Color corrector (optional)
- Foundation
- Concealer
- Setting powder
- Bronzer
- Blush
- Highlighter
- Eye makeup (primer, eyeshadow, liner, mascara)
- Eyebrows
- Lips
- Setting spray
Final Thoughts on Makeup Steps in Order
Mastering the correct makeup steps in order transforms every product you own into a more effective, longer-lasting, better-blending version of itself. The makeup application steps in this guide from skincare prep through setting spray represent the professional standard for full-face application that makeup artists use every day on set and backstage. Once this sequence becomes automatic, your makeup will look more polished, last longer, and apply faster than ever before. Learn the order, understand the why, and enjoy the visible difference in every look you create.